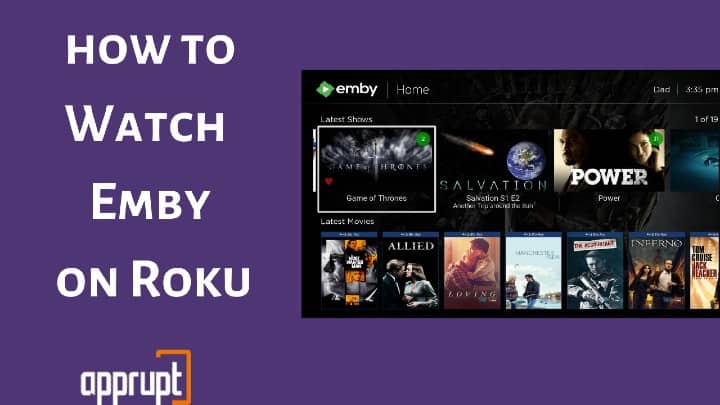
Emby for Roku is the best all-in-one media player you ever wanted. You can do everything on it- be it stream your personal media files or look for the latest TV shows, movies, music and stream them on your big Roku screen.
Thanks to its stunning display and metadata, you can play, save and organize all your content in its library with utmost ease. Apart from Roku, this platform also supports various streaming devices like Amazon Fire Stick, Apple TV, iOS, Android, Windows (PC & Mobile Phones), Android TV, Nvidia Shield, and many more.

How to Use Emby on Roku
You can use Emby on Roku by downloading its official app from the Roku Channel Store. Though, all the latest Roku device models come pre-installed with this app. After adding the app onto the device, you just need to connect it to the Server to start streaming media on it.
Setup Emby for Roku
You can go through the following simple and easy-to-follow steps to add the Emby app onto your Roku device:
Step 1: Begin with connecting your Roku device to the TV using the HDMI cord. Then plug them into the power socket and switch them on.
Step 2: Make sure to connect to a strong wireless internet connection and log into your existing Roku account.
Step 3: Head over to the Roku page where all the supported channels on Roku are displayed, that is, the Roku Channel Store, and then select Film and TV on that page.
Step 4: Under this category, you will easily see the Emby channel. Click on it.
Step 5: On the next page, you will a short description of the channel. Tap on the Add Channel button on the page to start downloading the app onto your Roku.

Step 6: When the installation procedure is successfully completed, click on Ok on the confirmation message. You will now find the channel on your home screen.
Connect Emby Roku Client to Emby Server
In order to get complete access to the Emby channel on Roku, you must connect the Client (your Roku device) to the Emby Server. The procedure to do the same can be divided into the following three steps:
- Emby Connect
- Scan Network
- Manual Addition
1. Emby Connect
Step 1: Connecting the Client to the Server is a default method. You need to register your device when you are trying to gain access to the Emby channel using your own server on the Internet, which is an external Network.
Step 2: If you are new to streaming on the Emby app, as the Client, you must decide on a PIN with Emby Internet Service.
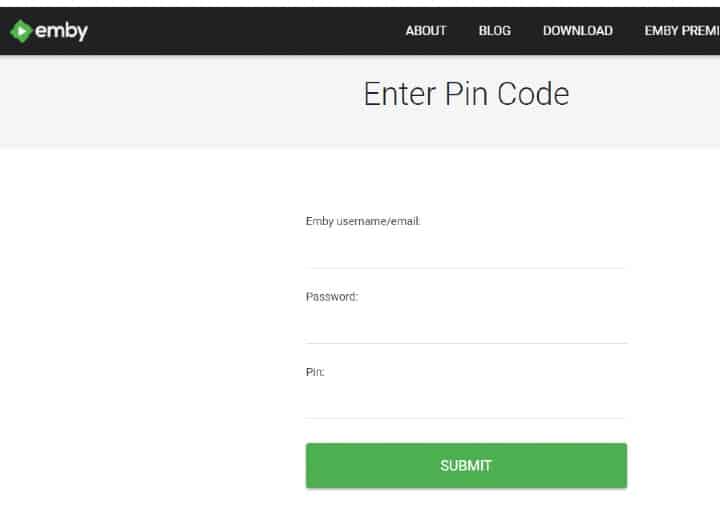
Step 3: Next, go to https://emby.media/pin.html using any web browser on a smartphone or PC and type in your login username and password along with the PIN displayed on the client.

Step 4: When you have logged in successfully, a message would be displayed on the screen, “Pin confirmed. Thank you”.
2. Scan Network
Step 1: You would be able to see the server and the port, provided the next connectivity is well established.
Step 2: Next, pick the server of your choice using your username, and then Server -> Connect.
Step 3: The user verification page would be displayed now. To complete the entire procedure, follow the instructions displayed on the screen.
3. Manually Add Server
Step 1: In case the client is in a broadcast domain that is separate from the server, you should troubleshoot.
Step 2: Type in the hostname or IP address of the Emby server and move on to the next and final step by clicking on Ok.
Step 3: Finally, type in the HTTP server port number of the Emby server (usually, it is 8096) as it has been set up on the Emby server under the Configuration option ->then, Advanced -> Hosting ->finally, Local HTTP Port number.
Related: Watch iTunes Movies and TV Shows on Roku
If you face any difficulties regarding connections, you would be redirected to the Server Setup or Display Name Page. Proceed with the virtual instructions to finish the setup successfully.
Related: Add Syfy on Roku